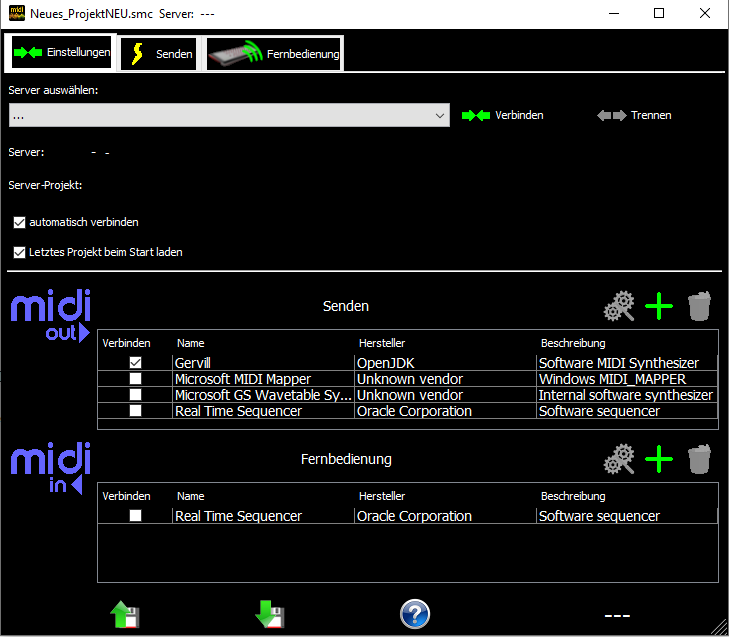


(connect automatically)
For this purpose, a connection must be established manually the first time the program is started.

(load last project at start)

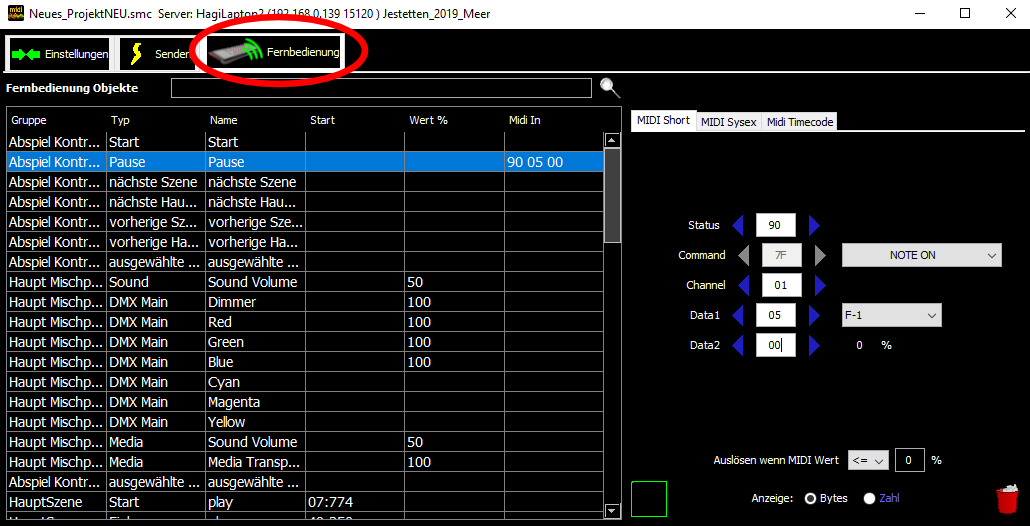
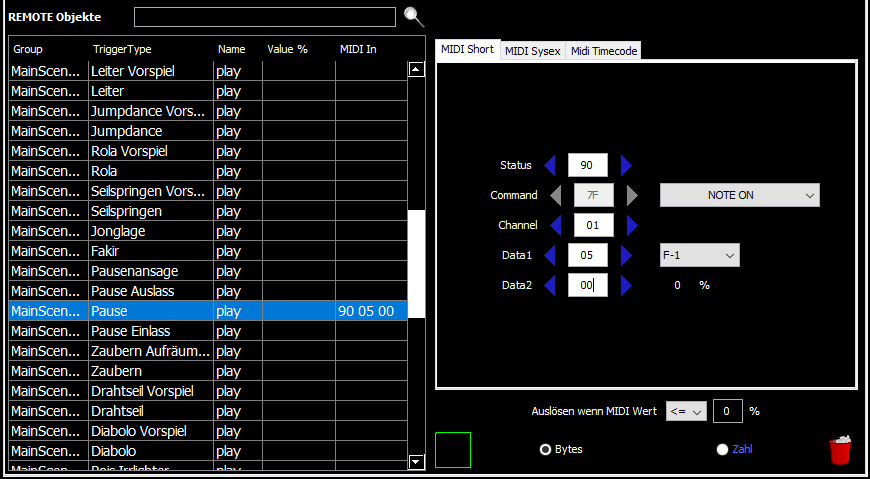
The MIDI settings are closely linked to the server's project. In order to make this connection recognizable, you should always use the same file name as the project of the server.
ATTENTION: If you port a server project to another computer (for example, from the office computer to the show computer, you must remember to copy the corresponding MIDI settings file to the other computer.


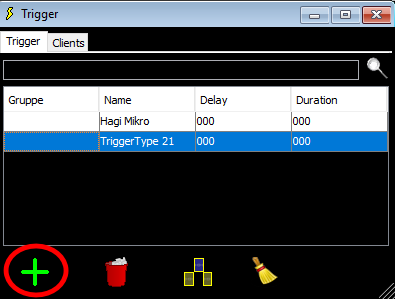
In liveSHOWsoftware this is the position of the media cursor.


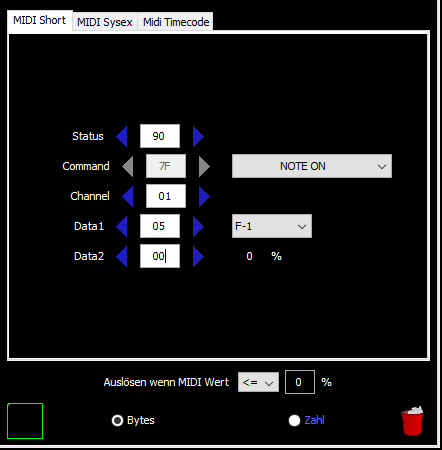

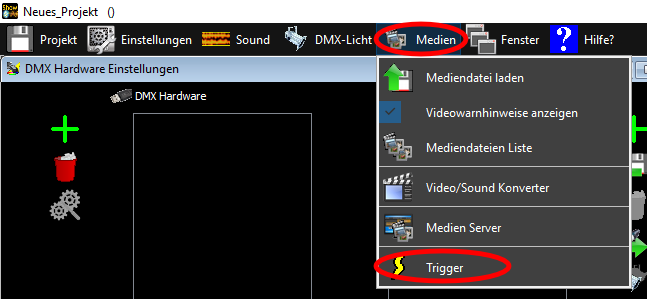
 (Trigger when MIDI value )
 (Value direct - In/Decrease)
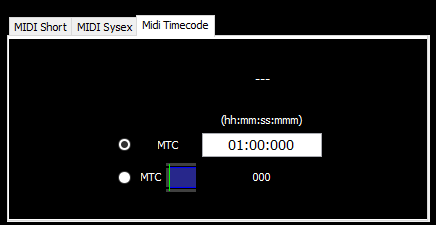


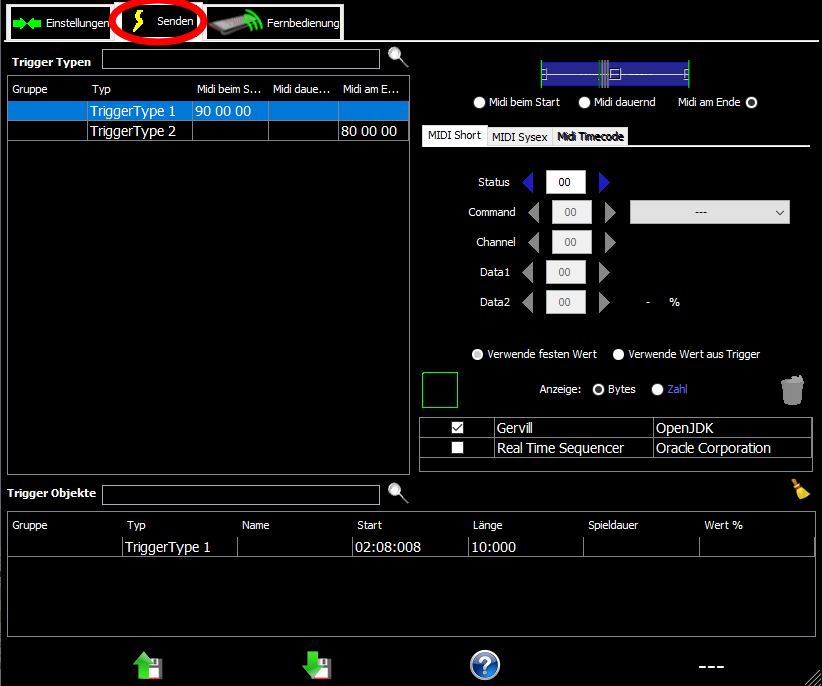
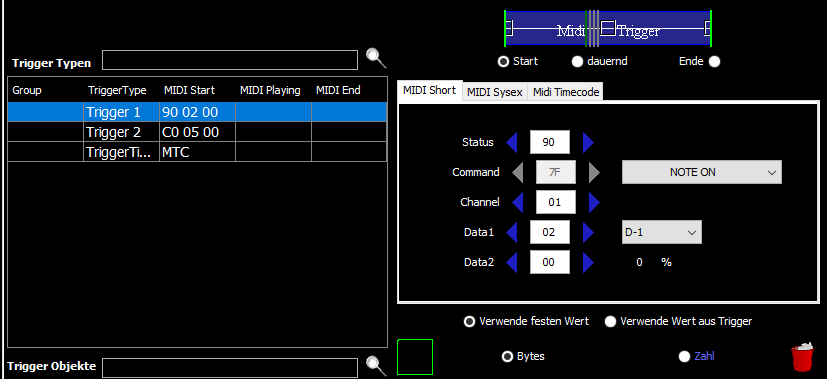
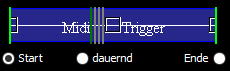 (Start - Continous - End)

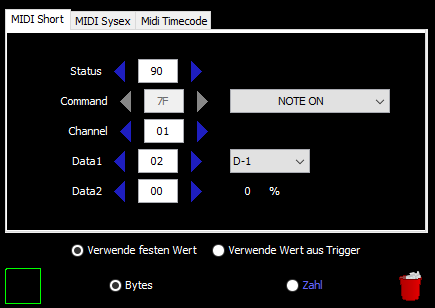
 (Use fixed Value) (Use Trigger Value)